Each time you enter text a new layer will be created. This is beneficial for control, but can prove confusing at times. Any time you can't understand why something isn't working check the Layer Palette to make sure you are working on the right layer.

The Text Tool Bar looks like most word processing tool bars. There are a few differences. The differences are in the first five "T's" and in the second from the last "T" with an arch under it.
The "T's" from left to right are:
- Reset the text tool to the default.
- Normal Horizontal Text
- Vertical Text
- Horizontal Text Mask - Allow you to pick up a pattern under the text or cut the text out of a picture.
- Vertical Text Mask- same as above except vertical (The word sun was cut out of a sun set picture and pasted here.)
The only other tool you should be aware of is the Anti Alias Tool shown by the two A's on the tool bar. The Anti Alias tool should be used when you are creating text for the Web. It will smooth out the jagged edges. You should not use the Anti Alias Tool for print. It will make the text look more jagged.
Inserting text is very simple. Click on the image where you wish to insert the text. IMPORTANT: Don't worry where the text is placed as long as you can see part of it you can move it using the Move Tool. Elements does not place the text exactly where you clicked. This can be a little confusing at first.
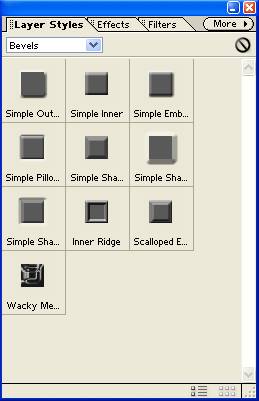
You can now alter the text using one or more of the Layer Styles, Effects or the Filter Palettes. The most common are in the Layer Styles Palette which includes the bevel and shadow styles. You will also want to examine the Text Effects found under the Effects Palette. And for more dramatic effect you can use the Filter Palette.
The tabs for these three palettes are shown at right and the bevel and shadow effects are shown below.
See Bevel and Shadow Effects below.